Browsing "Older Posts"

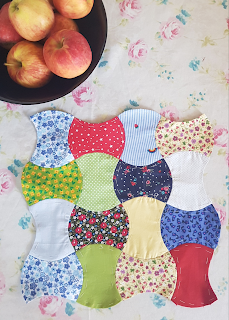
Applecore english paper piecing tutorial

By Hatun Comak → Monday, May 23, 2022


 Here comes my latest tutorial! English paper piecing method is always my favourite since you can take your work whereever you go and I like the process of building the work slowly, piece by piece. This time I started my work with applecore pattern and while doing it I also prepared a tutorial for you. It is easy work to me, but if you are new to english paper piecing method, you can have a look at my ENGLISH PAPER PIECING TUTORIAL for beginners. If you are familiar to this method, go on please. One of my favourite shape in english paper piecing is applecore, after hexagons. Hexagons are much easier to sew than applecores since there is sewing curves here. With this tutorial you will learn how to handle these curves successfully.


Here we go!

How to make epp applecores 

I always make my own templates for english paper piecing. You may not have enough patience and want to get ready made templates, but I prefer to work on each step by myself. You can download the templates for free. 


The applecores I'll be using are 2" applecores. You need to print out the template and cut it. You should be careful while cutting the curves.


Take your template and place it on the wrong side of the fabric. You can precut 4"×5" rectangles for each applecore.
Mark with a pencil a 3/8" seam allowance. 1/4" seam allowance is too small to work comfortably.


Pin the paper to the wrong side of the fabric and cut out along the seam allowance.

Now you need to make small 1/4" cuts in the seam allowance so that you can form the fabric to the paper piece. You shouldn't cut too deeply.


In this step you may also use glue stick. However, I prefer thread basting. Fold the seam allowances on the paper and glue or baste it. Repeat this for both inner curves.  Then cut the outer curves, fold and baste.


The tightness of the point of the applecore is important. When you finish basting, remove the pin and press with iron. It makes it easy to  sew applecores together. After making enough applecores, you can start putting them together.


How to sew applecores together

Now let's join our applecores together. Below you can see how to join the two shapes together.


Place the two applecore pieces as shown above, right sides together. Sew right along the two opposing sides. Whipstitch all the way along  one side, reposition as you need.


First pieces are joined! You can sew applecores in rows, addind one shape each time. When one row is completed, you add the rows together.


For now I started making applecores with no plans in mind but I progress with this work still not much in mind. I enjoy the process and it will end with something nice, I am sure of that. You do not always start with a plan. Lastly I would like to remind you some points to be careful about.

It is important to remember:

  • When basting or gluing the shape, ypu should  have nice, tight and folded corners.
  • Do not cut the  seam allowances too deep, or else the fabric may tear.
  • You can remove the templates when all sides are sewn. This also makes sewing easier.